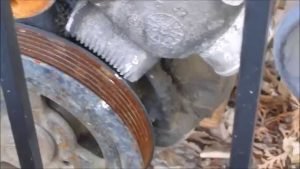
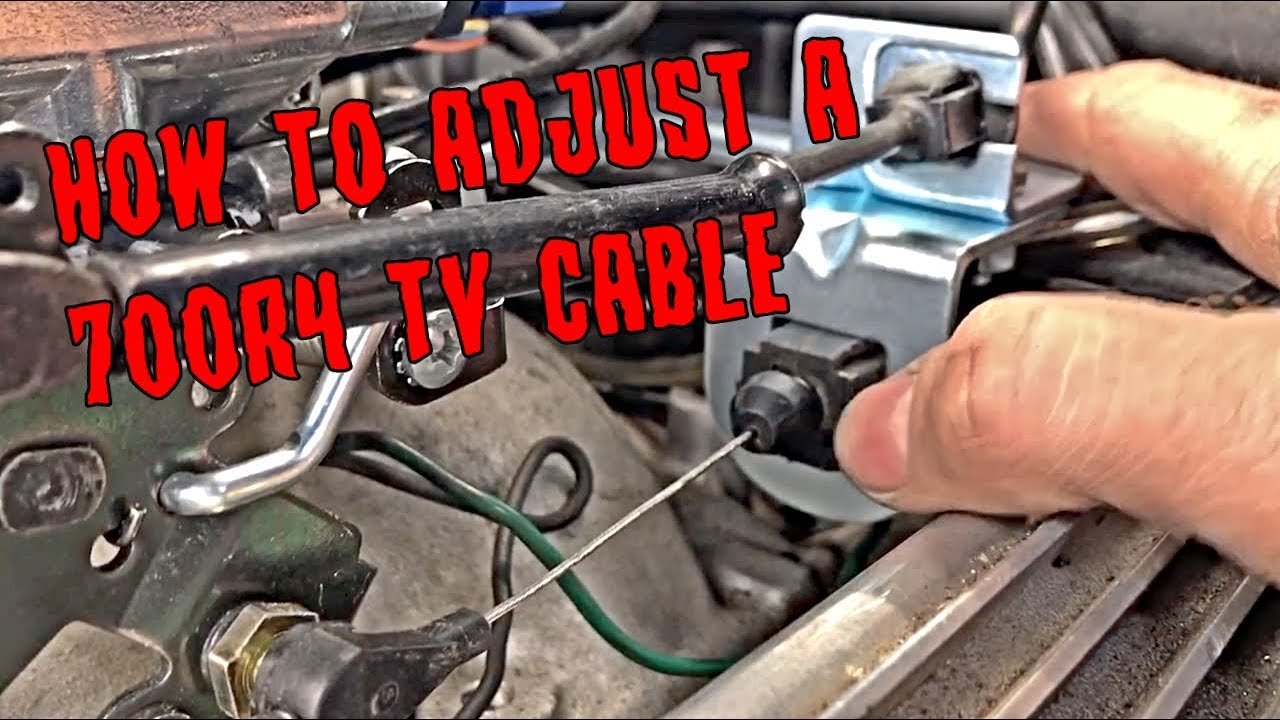
To adjust the kickdown cable, locate the cable near the throttle linkage and loosen the adjusting locknut. Then, adjust the cable by either pushing it in or pulling it out until the desired shift points are achieved.
Remember to tighten the locknut once the adjustment is complete. Proper adjustment of the kickdown cable ensures smooth and efficient shifting in the vehicle. If the kickdown cable in your vehicle needs adjustment, you can easily do it yourself. By following a few simple steps, you can ensure that the cable is properly set, allowing for smooth and precise shifts.
In this guide, we will walk you through the process of adjusting the kickdown cable, so you can get your vehicle shifting smoothly again. So let’s dive in and learn how to adjust the kickdown cable in your car.
Contents
- Understanding The Kickdown Cable
- Identifying The Signs Of A Misadjusted Kickdown Cable
- Adjusting The Kickdown Cable
- Troubleshooting Tips For Kickdown Cable Adjustment
- Are the Steps to Adjusting a Drag Link Similar to Adjusting a Kick down Cable?
- Tips For Maintaining A Properly Adjusted Kickdown Cable
- Frequently Asked Questions On How To Adjust Kick Down Cable
- Conclusion
Understanding The Kickdown Cable
The kickdown cable plays a crucial role in automatic transmissions. It directly affects gear shifting, ensuring smooth transitions between gears. Maintaining proper tension in the kickdown cable is vital for optimal performance. Without the right tension, gear shifts may become sluggish or delayed, impacting overall driving experience.
Adjusting the kickdown cable allows for better control over gear changes, especially during acceleration or passing. It ensures that the transmission responds as intended, delivering the right power and torque when needed. Regular maintenance of the kickdown cable is essential to avoid issues and prolong transmission life.
By keeping the cable properly adjusted, drivers can enjoy efficient gear changes and a smoother driving experience overall. Understanding the role and importance of the kickdown cable will help drivers maintain their vehicles in top condition for years to come.
Identifying The Signs Of A Misadjusted Kickdown Cable
A misadjusted kickdown cable can cause various signs, indicating the need for adjustment. These symptoms include delayed or harsh shifting, high RPM at cruising speeds, and changes in shift points. Moreover, a loose kickdown cable can lead to slipping or burnt clutches, while a tight cable can result in premature wear of transmission components.
It is crucial to detect and address these issues early on to prevent further damage and costly repairs. Regular inspection and adjustment of the kickdown cable can ensure smooth gear shifting and optimal performance of the transmission system. By maintaining this crucial component, you can improve the overall driving experience and prolong the lifespan of your vehicle.
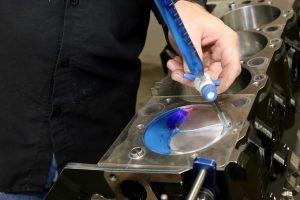
Adjusting The Kickdown Cable
Adjusting the kickdown cable is a crucial task in maintaining the optimal performance of your vehicle. To begin, gather the necessary tools and take appropriate safety precautions. Once you are well-prepared, locate the kickdown cable and the adjusting mechanism. Follow the step-by-step instructions to adjust the tension of the kickdown cable accurately.
Properly align the throttle valve to ensure smooth shifting. Determine the correct cable tension by referring to your vehicle’s specifications. Make precise adjustments to achieve the desired tension. By following these guidelines, you can effectively adjust the kickdown cable and enhance the overall performance of your vehicle.
Troubleshooting Tips For Kickdown Cable Adjustment
Adjusting the kickdown cable in your vehicle may present some challenges. First, identify any obstacles that might arise during the adjustment process. By doing so, you can be better prepared to overcome them. Once you’ve made the necessary adjustments, it’s important to test the kickdown cable for proper function.
Run your vehicle and observe its performance to ensure everything is working as it should. Taking these troubleshooting steps will help you achieve the desired kickdown cable adjustment, keeping your vehicle running smoothly. So, if you encounter difficulties during the process, remember to identify and overcome them, and then test the cable for optimal performance.
With these tips, you’ll be well on your way to a properly adjusted kickdown cable.
Are the Steps to Adjusting a Drag Link Similar to Adjusting a Kick down Cable?
When it comes to adjusting a kick down cable and adjusting a drag link, the steps are not similar. The adjusting drag link instructions involve loosening the nuts on the drag link to align the steering wheel, while adjusting a kick down cable involves adjusting the cable tension to optimize transmission shift points.
Tips For Maintaining A Properly Adjusted Kickdown Cable
Regular inspections and adjustments are essential for maintaining a properly adjusted kickdown cable. By staying vigilant, you can prevent future issues and ensure optimal performance. Keep an eye out for signs that indicate the need for readjustment, such as delayed or harsh shifting, slipping gears, or high RPMs.
If you notice any of these symptoms, it’s time to inspect and adjust the kickdown cable. To avoid future problems, follow these steps: First, locate the cable and ensure it is properly attached and not damaged. Next, check the cable tension to ensure it is within the manufacturer’s specifications.
Adjust as necessary using the appropriate tools. Finally, test drive the vehicle to ensure smooth shifting and proper operation. Stay proactive with regular inspections and adjustments to keep your kickdown cable working at its best.
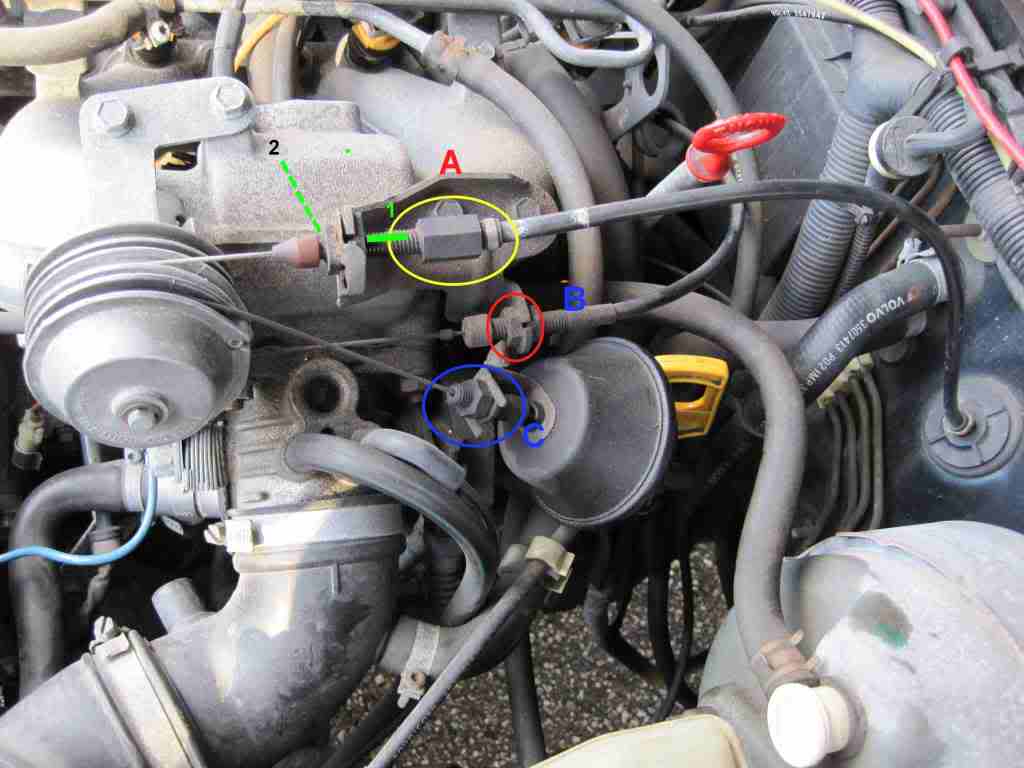
Credit: volvoforums.com
Frequently Asked Questions On How To Adjust Kick Down Cable
How Do You Adjust A Kick Down Linkage?
To adjust a kickdown linkage, follow these steps: 1. Locate the kickdown linkage on the carburetor or throttle body. 2. Loosen the adjustment nut or bolt on the linkage. 3. Move the linkage in the desired direction to adjust the kickdown.
4. Tighten the adjustment nut or bolt to secure the new position. Remember to consult the vehicle’s manual for specific instructions.
How Do You Adjust The Kickdown Cable On A Turbo 350?
To adjust the kickdown cable on a Turbo 350, follow these steps carefully: 1. Locate the kickdown cable at the rear of the transmission. 2. Loosen the adjusting nut on the cable using an adjustable wrench. 3. Slide the inner cable until it is fully extended.
4. Tighten the adjusting nut until it is snug, but not too tight. That’s it! You have successfully adjusted the kickdown cable on your Turbo 350.
How Does A Kick Down Cable Work?
A kickdown cable controls the downshifting of an automatic transmission by adjusting throttle pressure.
How Do I Know If My Kickdown Cable Is Bad?
A bad kickdown cable can be identified through symptoms such as sluggish acceleration, delayed shifting, or stuck gears.
Conclusion
Adjusting the kickdown cable is a crucial step in ensuring the smooth operation of your vehicle’s transmission. By following the steps outlined in this blog post, you can effectively fine-tune the kickdown cable to optimize the shifting performance and prevent any potential damage to your transmission.
Remember to begin by locating the kickdown cable and its adjustment nut, employing the correct tools for adjustment, and making the necessary modifications based on your vehicle’s specifications. Regularly checking and adjusting the kickdown cable can significantly enhance the overall driving experience and extend the lifespan of your transmission.
So, take the time to master this skill and enjoy a well-functioning transmission for miles to come. Happy driving!
Affiliate Disclosure: As an Amazon Associate, I earn from qualifying purchases made through links on this site.